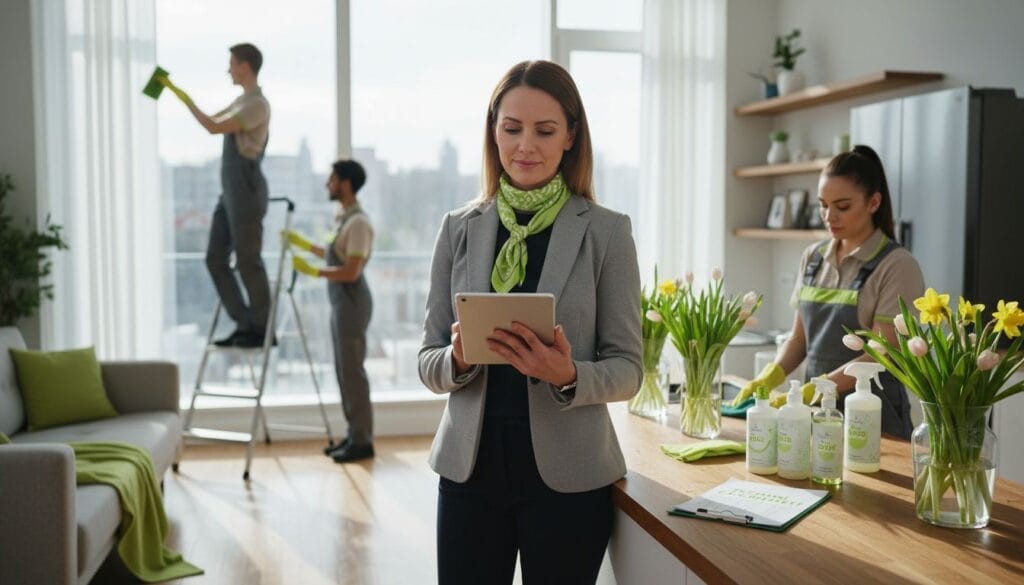
Living Room Cleaning Guide for a Fresh, Spotless Home

Did you know that the average living room can harbor over 12,000 dust mites in carpets and soft furnishings? Keeping this busy space truly clean matters for your comfort and health. By learning which tools and techniques really work, you can create a spotless environment where relaxing feels effortless and every corner stays guest ready.
Table of Contents
Quick Summary
| Key Point | Explanation |
|---|
| 1. Gather essential cleaning tools | Start with microfiber cloths, vacuum, and all-purpose cleaner for effective cleaning across surfaces and materials. |
| 2. Declutter surfaces systematically | Sort items into keep, donate, and discard categories to create organization and space within your living room. |
| 3. Dust from top to bottom | Use microfiber cloths for delicate items and soft brushes for hard-to-reach areas, ensuring dust doesn’t resettle. |
| 4. Vacuum or mop appropriately | Choose the right method for your floor type and use surface-specific cleaning solutions to maintain cleanliness. |
| 5. Focus on high-touch areas last | Use disinfectants on frequently touched surfaces like remotes and doorknobs to ensure a healthy, clean environment. |
Tackling your living room’s cleaning project starts with assembling the right equipment and supplies. According to the
American Cleaning Institute guide on home cleaning, selecting appropriate tools for different surfaces is key to achieving a spotless space.Your cleaning arsenal should include versatile items that can handle multiple surfaces and challenges. Start with these essential tools:Here’s a summary of essential cleaning tools and their primary uses:
| Tool or Supply | Main Use | Recommended For |
|---|
| Microfiber cloths | Dusting, wiping surfaces | All surfaces |
| Vacuum cleaner | Removing dirt, debris | Floors, upholstery |
| Extendable duster | Cleaning high corners, fans | Ceilings, tall furniture |
| All purpose cleaner | General cleaning | Most surfaces |
| Glass cleaner | Polishing glass, mirrors | Glass, mirrors |
| Soft bristle brush | Gentle scrubbing | Delicate items |
| Trash bags | Collecting waste | All rooms |
| Protective gloves | Hand protection | Any cleaning activity |
- Microfiber cloths for dusting and wiping surfaces
- A sturdy vacuum cleaner with multiple attachments
- Extendable duster for reaching high corners and ceiling fans
- All purpose cleaner suitable for multiple surfaces
- Glass cleaner for mirrors and glass furniture
- Soft bristle brush for delicate surfaces
- Trash bags for collecting debris
- Protective gloves to keep your hands clean
Pay special attention to the type of cleaning solutions you choose. As recommended by the
CDC guidelines on cleaning supplies, always prepare cleaning solutions according to manufacturer instructions and ensure they are compatible with the surfaces you will clean.
Pro Tip: Invest in quality microfiber cloths which can trap dust more effectively than traditional rags and reduce the need for harsh chemical cleaners.
By gathering these tools before you start, you will streamline your cleaning process and set yourself up for success.
Your next step involves preparing the living room for a thorough cleaning by clearing surfaces and creating a strategic cleaning plan.
Step 2: Declutter and Organize All Surfaces
Transforming your living room begins with strategic decluttering and organizing all surfaces. According to
AARP’s home organization guide, the key is to start small and create systematic approaches to managing your space.Begin by removing all items from surfaces like coffee tables, shelves, and side tables. Sort these items into three distinct categories: keep, donate, and discard. This method helps you make intentional decisions about the objects in your living space and prevents unnecessary accumulation.Focus on creating specific homes for frequently used items. Place remotes in a designated tray, organize magazines in a sleek holder, and group decorative items strategically. As recommended by the
David Suzuki Foundation’s decluttering advice, limit duplicates and remove seldom used items from countertops to create a more streamlined environment.
Pro Tip: Use small decorative boxes or trays to corral loose items like keys, charging cables, and small accessories. This keeps surfaces looking neat while maintaining functionality.
Organize books, magazines, and decorative items by color or size to create visual harmony. Remove any unnecessary paperwork or random items that do not belong in the living room. By clearing surfaces, you create a sense of spaciousness and prepare your room for thorough cleaning. Your next step involves dusting and wiping down these newly organized surfaces to complete the transformation.
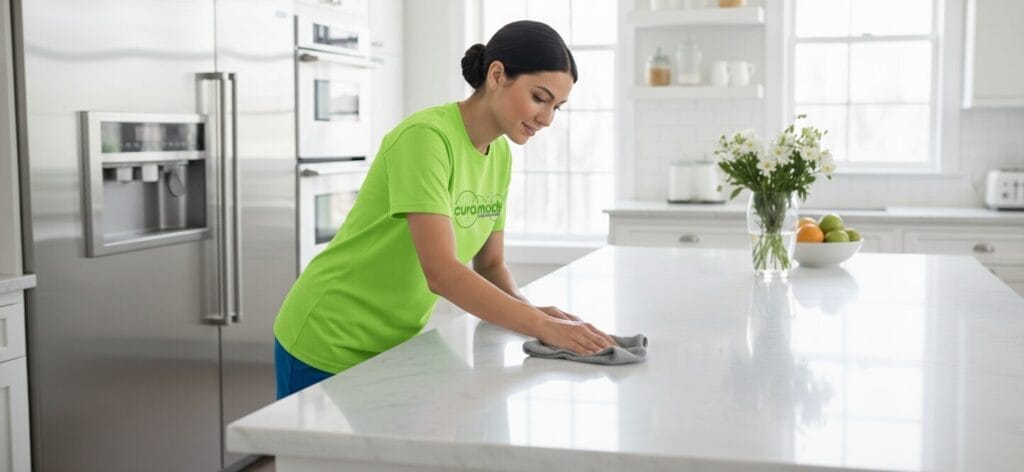
Step 3: Dust Furniture, Decor, and Electronics
Dusting is a critical step in achieving a truly clean living room. According to the American Cleaning Institute’s home cleaning guide, using the right tools and techniques is essential for effectively removing dust without damaging surfaces.Start with delicate surfaces like electronics and decorative items. Use a soft microfiber cloth to gently wipe down screens, picture frames, and ornamental pieces. Always move from top to bottom to prevent dust from resettling on already cleaned areas. For hard to reach spots like intricate decor or between electronic components, use a soft bristle brush or compressed air to dislodge dust without scratching.Furniture requires a slightly different approach. The CDC guidelines on cleaning equipment recommend using surface appropriate cleaning solutions. For wooden furniture, use a slightly damp microfiber cloth followed by a dry cloth to prevent moisture damage. Leather and upholstered surfaces need special care use specific fabric cleaners designed for their material.
Pro Tip: When dusting electronics, always unplug devices first and avoid spraying liquids directly onto screens or components. Instead, spray cleaner onto the microfiber cloth and then gently wipe.
Pay special attention to often overlooked areas like lamp bases, window sills, baseboards, and the tops of picture frames. These spots accumulate dust quickly and can make your entire room look unclean. By methodically working through each surface, you create a comprehensive dust removal strategy.
Your next step will involve vacuuming and deep cleaning the floors to complete your living room transformation.
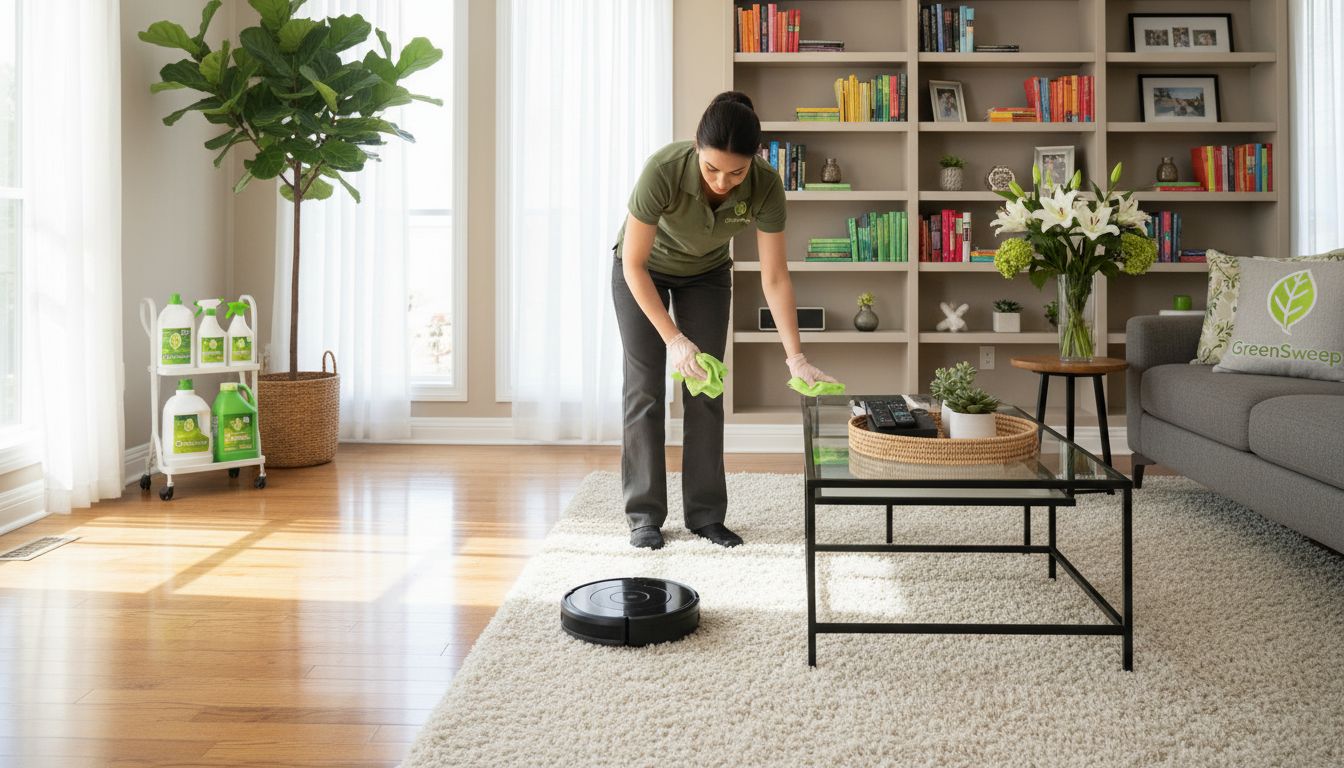
Step 4: Vacuum or Mop Floors and Upholstery
Floors and upholstery are the foundation of a clean living room, requiring careful and strategic cleaning approaches. According to the American Cleaning Institute’s cleaning guidelines, selecting the right cleaning method depends on your specific floor and furniture materials.Begin with vacuuming as your primary floor cleaning method. Use attachments to reach corners, edges, and tight spaces between furniture. For hardwood, tile, or laminate floors, switch to a hard floor setting to prevent scratching. Pay extra attention to high traffic areas which accumulate more dirt and debris.The CDC’s cleaning equipment recommendations emphasize using surface appropriate cleaning solutions. For upholstered furniture, use your vacuum’s upholstery attachment to remove dust, pet hair, and loose debris. Move methodically across cushions, armrests, and between seat crevices.
Pro Tip: When mopping, always wring out your mop thoroughly to avoid oversaturating floors, which can cause water damage or create slipping hazards.
For wood or tile floors, use a microfiber mop with a cleaning solution specifically designed for your floor type. Work in small sections, rinsing your mop frequently to prevent spreading dirt. Your final step will involve addressing any remaining spots or stains to ensure a truly spotless living room.
Step 5: Spot Check and Refresh High-Touch Areas
The final stage of living room cleaning involves targeting those frequently touched surfaces that can quickly accumulate germs and dirt. According to the American Cleaning Institute’s home cleaning guide, high touch areas require special attention to maintain a truly clean environment.Start by identifying key surfaces like remote controls, light switches, doorknobs, coffee table edges, and electronic device screens. Gather a microfiber cloth and an appropriate disinfectant spray that is safe for different surface materials. The CDC’s cleaning equipment recommendations stress the importance of using EPA registered disinfectants and following manufacturer instructions carefully.Carefully wipe each surface using gentle circular motions, ensuring you cover every inch without oversaturating the area. For electronics, spray the cleaner onto your microfiber cloth first to prevent liquid damage. Pay extra attention to surfaces that multiple people touch frequently, as these are most likely to harbor bacteria and viruses.
Pro Tip: Keep a small cleaning kit with disinfectant wipes and a microfiber cloth in your living room for quick touch ups between deep cleaning sessions.
Take a final walk around the room to ensure you have not missed any spots. Your methodical approach will leave your living room looking fresh, clean, and inviting. Professional cleaning services can help maintain this level of cleanliness with regular deep cleaning appointments.
Experience a Truly Fresh and Spotless Living Room with Cura Maids
Keeping your living room clean and inviting can be a real challenge. From managing dust on delicate electronics to tackling hidden dirt in upholstery and high-touch areas, the process demands time and the right expertise. If you want a beautifully organized, thoroughly dusted, and spotless space without the hassle, professional help is just a click away. Discover how a deep, customized cleaning can transform your home into a healthier and more relaxing environment.

Ready to experience the difference of expert cleaning care? Explore trusted steps and tailored solutions in our
Cleaning Tips by Room Archives – Cura Maids Cleaning Tips by Room and embrace a lifestyle of ease with
Lifestyle with Cleanliness Tips – Cura Maids. Our team at
Cura Maids proudly serves your area with guaranteed satisfaction and attention to every detail. Take the next step toward a fresher, healthier living space today by scheduling your personalized cleaning service.
Frequently Asked Questions
To effectively gather cleaning tools for your living room, start by assembling essential items like microfiber cloths, a vacuum cleaner, and all-purpose cleaner. Make a checklist to ensure you have versatile supplies that can tackle various surfaces before you begin cleaning.
What steps should I follow to declutter my living room?
Begin decluttering your living room by removing all items from surfaces and sorting them into three categories: keep, donate, and discard. Create designated homes for frequently used items to maintain organization, and aim to eliminate unnecessary duplicates to keep the space streamlined.
What is the best way to dust my living room furniture and electronics?
To dust your living room effectively, use a microfiber cloth to gently wipe surfaces, starting from top to bottom to avoid resettling dust. Focus on delicate areas like electronics by using a soft bristle brush or compressed air, and remember to unplug devices before cleaning.
How should I vacuum and mop my living room floors?
When vacuuming, use attachments to clean corners and edges, ensuring that you use the appropriate setting based on your floor type. After vacuuming, mop hardwood or tile floors with a slightly damp microfiber mop, working in small sections and rinsing frequently to avoid oversaturating any surface.
What high-touch areas should I prioritize during my final cleaning check?
Focus on high-touch areas such as remote controls, light switches, and doorknobs during your final cleaning check. Use a suitable disinfectant to wipe these surfaces thoroughly, ensuring to cover every inch without soaking them, which will help maintain a hygienic living environment.
Aim to deep clean your living room at least once every month to maintain freshness. Schedule these sessions into your month, and consider setting up a quick touch-up cleaning routine every week to keep surfaces tidy and inviting.
Recommended
 Did you know that the average living room can harbor over 12,000 dust mites in carpets and soft furnishings? Keeping this busy space truly clean matters for your comfort and health. By learning which tools and techniques really work, you can create a spotless environment where relaxing feels effortless and every corner stays guest ready.
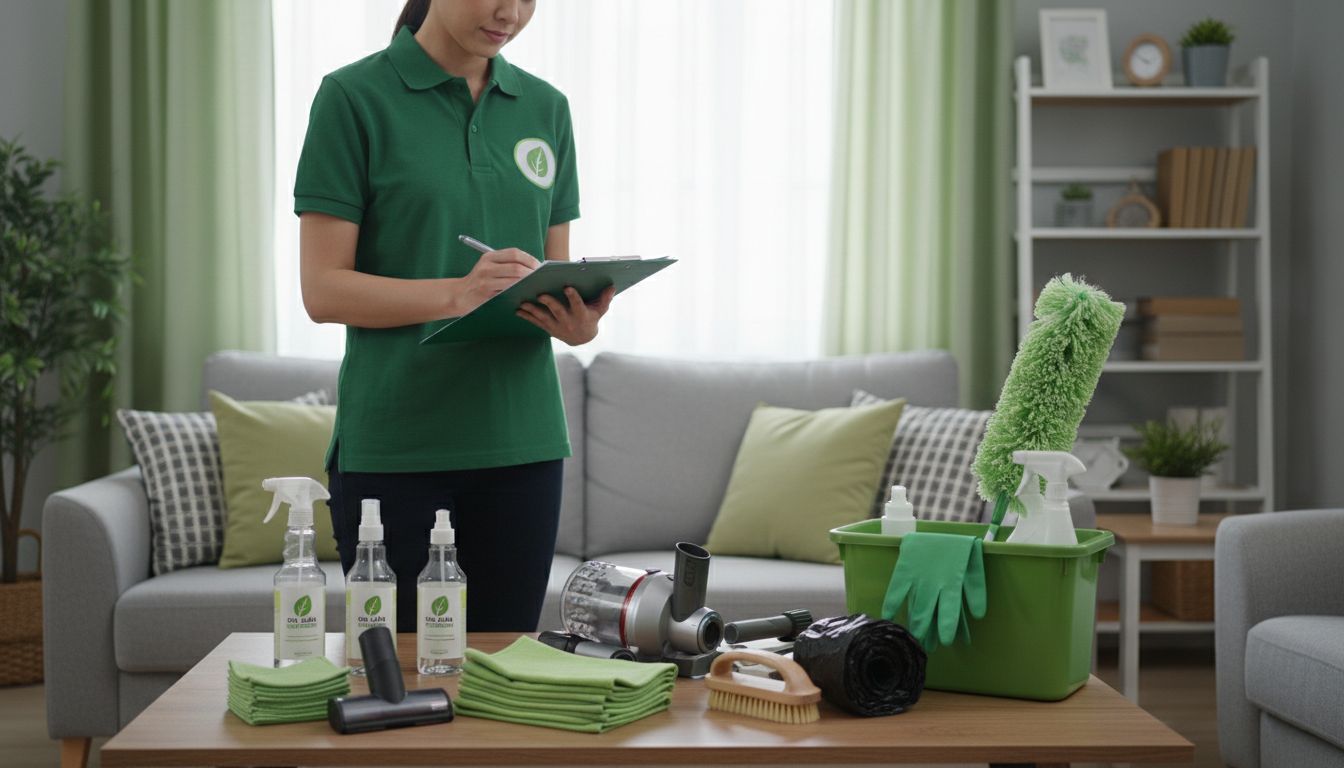 Your next step involves preparing the living room for a thorough cleaning by clearing surfaces and creating a strategic cleaning plan.
 Ready to experience the difference of expert cleaning care? Explore trusted steps and tailored solutions in our Cleaning Tips by Room Archives – Cura Maids Cleaning Tips by Room and embrace a lifestyle of ease with Lifestyle with Cleanliness Tips – Cura Maids. Our team at Cura Maids proudly serves your area with guaranteed satisfaction and attention to every detail. Take the next step toward a fresher, healthier living space today by scheduling your personalized cleaning service.